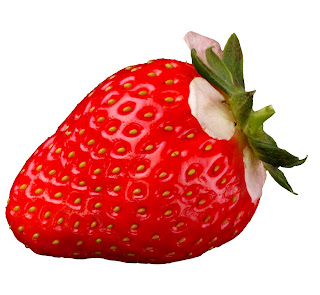
1. We start by cutting out the object we want to work with so it has a white background in a layer beneath it.

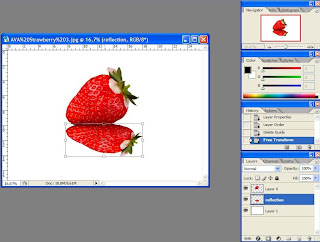
2. Then make a copy of the object you are working on, and put it below the other on, and name it reflection, do this just by clicking on the layers text.
3. Now with the reflection layer selected hold down ctrl key while pressing T (this is shortcut for free transform). Use the upper middle dragable box to make the layer as a reflected image, by dragging it all the way down.tip: if you want it a bit more realistic holddown ctrl key while dragging the corners (not drag to much) to make the reflection a bit larger the closer it gets to you.

4. While still having the reflection layer selected go giv it a motion blur from the filters scrolldown, not to much, then giv it a ripple from the filters menu, at last put down the reflection layers opacity.
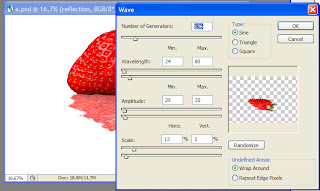
5. Now to the hard part (or just a bit more demanding). go to filters -> wave, well here are alot of parameters to play with, but try doing them like in the image below.

6. Thats it, just one more tip, I often see when I cut out objects from a background that the object is very cornered or pixelized, try using the filters -> diffuse glow. it gives some kind of depth of field.

3 comments:
good idea man, cary on, good luck
hey, this is pretty sweet.
I hope you don't mind a little criticism: that does not look like a reflection. Maybe you should get a strawberry and take some photos of it with a real reflection first to see how it really looks - and then try it again.
Post a Comment