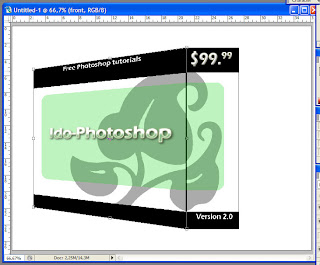
2. Now draw in some graphic, and write some text as I did the pictures below. Tip: the easy way to draw inside the squares without drawing outside the borders is to hold down ctrl key and click the layer with the shapes, the draw inside the selection. I would recomment you draw in another layer so you keep control over your different shapes.
3. As you can see from the image above, I took advantage of the custom shapes in photoshop, they can give a very professional look without much work.
4. Now hold down ctrl while clicking at the layer containing the cover shape, so you get the selection around all the graphics. Then go to the rolldown menu Edit -> stroke and apply a stroke around the whole thing.
5. Your project should now look something like mine below. The only thing we need now is to giv it some 3d perspectiv shape.
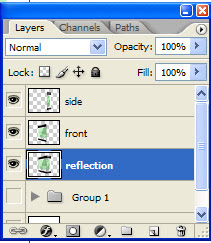
6. start by creating a folder in your layers panel, drag all your layers except the backgound, make a copy of that folder for backup, then hide it. Then right click on the folder and choose group into smart object, then right click again and choose rasterize layer.
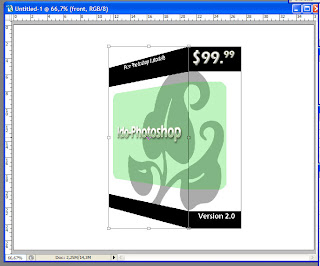
7. Now select the side view part of the dvd cover and hold down ctrl while pressing X, and then press V (still holding down ctrl) now you have split the cover into two layers one part with the front and one with the side view, name the layers front and side. also move them into place as shown in the image.
8. Select the front layer and go to the scroll menu edit -> transform -> perspectiv, then move the corners as shown in the image below.

9. While still having the front layer selected hold down ctrl and press T for transform and drag in the left middle square so the front is getting smaller to the result below.

10. Do some perspectiv work to the side layer also, so it looks something like the one below.

11. Now we can do some reflection to the cover, just to give it a better look. make a copy of the two layers and place it below the front and side layer. call them reflection-front and reflection-side.

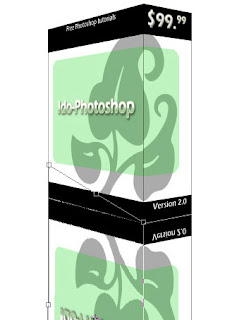
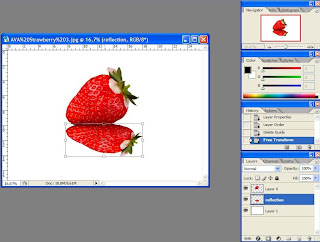
12. Select the reflection layer and move it down so its below the other element. go to edit menu -> transform -> flip vertical.
13. Now select each layer and hold down ctrl and press T, move the corners up so they touch the covers corners as shown in the image below.

14. Now merge the reflection layers to one layer by making sure that one is just above the other and right click on the top one, choose merge down.
15. Make a selection of the reflection object, by holding down ctrl while clicking on the reflection layer.
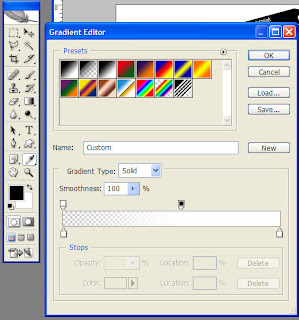
16. Choose gradian tool, and make it white to invisible as shown below.

17. Then drag from top to bottom of the image (this may take some trys to get right).
then your down :-) easy when you know the steps.
 1. Start by making a layer and draw in a front and a side square in a different color then the background.